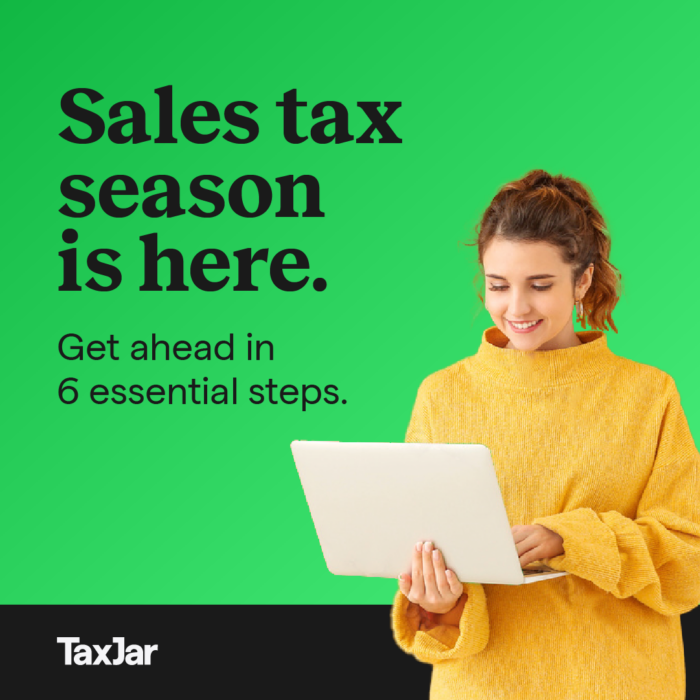
Acumatica Sales Tax Integration Guide
- Platform
- Acumatica
- Versions
- 2019R1+
- Extension
- Acumatica Marketplace
- Last Updated
- August 19, 2020
We put together this integration guide for Acumatica customers looking to better understand TaxJar’s integration for sales tax calculations, reporting, and filing.
You’ll learn how TaxJar provides calculations and syncs invoices for reporting / filing. Along the way, we’ll configure your Acumatica instance to collect sales tax where you have nexus, handle product / customer exemptions, and much more. For a primer on everything sales tax, read our Sales Tax 101 guides before getting started.
TaxJar for Acumatica requires a TaxJar Professional or Premium subscription. To sign up, or to upgrade your existing account, please contact our sales team.
How it Works
TaxJar for Acumatica utilizes the External Tax Calculation feature in Acumatica. Tax will be calculated when documents, such as Sales Orders or Invoices, are saved. The following conditions are required for tax to be calculated:
- Add nexus states
- Enable External Tax Calculation
- Install the Customization Project
- Configure the Tax Provider
- Add a Vendor Profile for TaxJar
- Create a TaxJar Tax Zone
- Set the Tax Zone to TaxJar
Basic Configuration
Enable External Tax Calculation
Acumatica requires the External Tax Calculation Integration feature to be enabled to support external tax calculation. This will have to be enabled by an administrator if it is not already enabled.
To enable this feature, go to System Management → Licensing → Enable/Disable Features page.
On this page, click Modify and check the Third Party Integrations → External Tax Calculation Integration box. Click Enable to save your changes.

Install the Customization Project
Import the Customization Project on the Customization Project screen (SM204505) by clicking Import and selecting the file to upload.

Open the Customization Project and click Publish → Publish Current Project.

Configure the Tax Provider
The TaxJar integration must be added as a Tax Provider.
- Go to the Tax Providers screen (TX102000).
- Click the Add New Record button.
- Set the Provider ID to TAXJAR.
- Set the Plug-in Type to TaxJar.Acumatica.SmartCalcsTaxProvider.
- Enter your API Token in the API Token field.
- Check the Active checkbox.
- Click Company Code Mappings.
- Enter any value for each branch in your Acumatica environment.
- Save the Tax Provider.


Create the Vendor Profile
Create a Vendor Profile for TaxJar and set the Tax Agency Settings.
- Add a new record on the Vendors screen (AP303000).
- Set the Vendor ID to TAXJAR.
- Set the Vendor Name to TaxJar Tax Agency.
- Set Vendor Class to General & Administrative.
- Check the box Vendor is Tax Agency.
- Fill out the Default Tax Accounts on the Tax Agency Settings tab.
- Save the Vendor Profile.

Create the Tax Zone
Setting a tax zone on an order triggers tax calculation. This does not affect transactions being imported into TaxJar. The following steps detail creating a Tax Zone:
- Add a new record on the Tax Zones screen (TX206000).
- Set the Tax Zone ID to TAXJAR.
- Check the box External Tax Provider.
- Set the Provider ID to TAXJAR.
- Set the Tax Agency ID to TAXJAR.
- Save the Tax Zone.

Assign the Tax Zone
Tax Zones are set on the customer or order level. Assign customers the TaxJar tax zone under Delivery Settings on the Customers screen (AR303000).

Enable Sales Tax Reporting
Ensure the Customization Project has been installed. To enable Sales Tax Reporting, visit the Linked Accounts page in the TaxJar app to connect to Acumatica.
Exemptions
Customer Exemptions
Mark customers as exempt by selecting an Entity Usage Type for the customer, location, or the order. Government and Wholesale exemptions are currently supported. The remainder of the Entity Usage Types are classified as Other.
Leave the Entity Usage Type as Default for non-exempt customers.

Product Exemptions
Product exemptions are managed by using a Product Tax Code (PTC). This section covers how to create an attribute and assign PTCs to your Stock Items and Non Stock Items.
Identify Product Tax Codes
Review the categories currently supported by the TaxJar API. Identify any categories relevant to your products. If there is no category for your specific product, leave the PTC blank and the product will be treated as fully taxable.

Create the PTC Attribute
- Add a new record on the Attributes screen (CS205000).
- Set the Attribute ID to PTC.
- Set the Description to Product Tax Code.
- Set the Control Type to Text.
- Save the Attribute.

Assign the Attribute to Item Classes
- Go to the Item Classes screen (IN201000).
- Select the Item Class in the Item Class Tree.
- View the Attributes tab.
- Add the Attribute ID PTC.
- Repeat steps 2 - 4 for each item class with exempt products.
- Save the Item Classes.

Assign PTCs to Inventory Items
Assignment of PTCs is the same for Stock Items and Non Stock Items.
- Go to the Stock Items screen (IN2025PL) or the Non-Stock Items screen (IN2020PL).
- Select the Inventory Item.
- View the Attributes tab.
- Set the Value of the Product Tax Code attribute.

Updating the Integration
Updating to the latest version of the integration will ensure you have the latest features and bug fixes.
Follow the below steps to upgrade:
- Go to the Customization Projects screen.
- Click Import > Choose File, select the new file, and then click Upload.
- Uncheck the Customization Project for the old version of the integration.
- Click Publish to unpublish the Customization Project and wait for the operation to complete.
- Check the Customization Project for the new version of the integration.
- Click Publish and wait for the operation to complete.
Frequently Asked Questions
Taxes Calculated based on the Warehouse
Taxes will be calculated using the warehouse location for the destination address when the Ship Via field is not selected. This is considered Will Call since the customer would be picking up the order from the warehouse.
Ensure the Ship Via field is selected if the order is being shipped.

Tax Rates are Incorrect
Ensure you are using our production environment. Additionally, use our sales tax calculator to verify the rate. If you continue to see an incorrect tax rate, please reach out to our support team.
Do you support Marketplace transactions?
Yes. Use a separate tax zone for Marketplace transactions in order to bypass tax calculation. These transactions will still be imported into your TaxJar account. When creating this Tax Zone, leave the External Tax Provider option unchecked.
Use the following Tax Zones for Marketplace Transactions. These transactions will be recognized by TaxJar as marketplace exempt transactions.
Marketplace | Tax Zone ID |
---|---|
Amazon | AMAZON |
eBay | EBAY |
Etsy | ETSY |
Walmart | WALMART |
Other | MKTPLACE |
Do I have to recalculate tax on orders when I import them into Acumatica?
If the storefront is calculating taxes with TaxJar, these transactions can be assigned a separate tax zone to bypass recalculating tax. Leave the External Tax Provider option unchecked. These transactions will still be imported into your TaxJar account.
No Transactions in the TaxJar App
The following troubleshooting steps may be helpful:
- Ensure your account has been linked.
- Transactions are imported nightly. Transactions from the current day may not be available until the next day.
- Still having issues? Contact our customer support team.
Integration Changelog
Curious to see what’s changed with our integration lately? Read on to learn more!
v1.0.4 - 2020-07-29
- Certified for Acumatica 2020R1.
- Fixed an issue where the taxable amount was not being calculated correctly on certain orders.
- Added support for propagating taxes from an imported Sales Order for certain edge cases.
v1.0.1 - 2020-07-15
- Updated exemption mapping to support Acumatica 2020R1
- Updated logging to support Acumatica 2020R1
v1.0.0 - 2020-06-26
- Initial release.